Add teachers, set their service assignments, and manage access for your entire ministry team from the Your Team page.
User Roles
Every user has a role that determines what they can see and do.
Ministry Administrator You
Full access. Can manage users, set the lesson schedule, email teachers and parents, configure ministry settings, and access the parent portal admin. There should be at least one Ministry Administrator per account.
Teacher
Can view lessons, activities, and the lesson schedule for their service. Can rate activities and give feedback. Cannot manage users, settings, or send emails.
Parent
Sees only the parent portal — the take-home page for your ministry's current lesson. Parents normally register themselves through your ministry's invite link, but you can also add one here.
Adding a New User
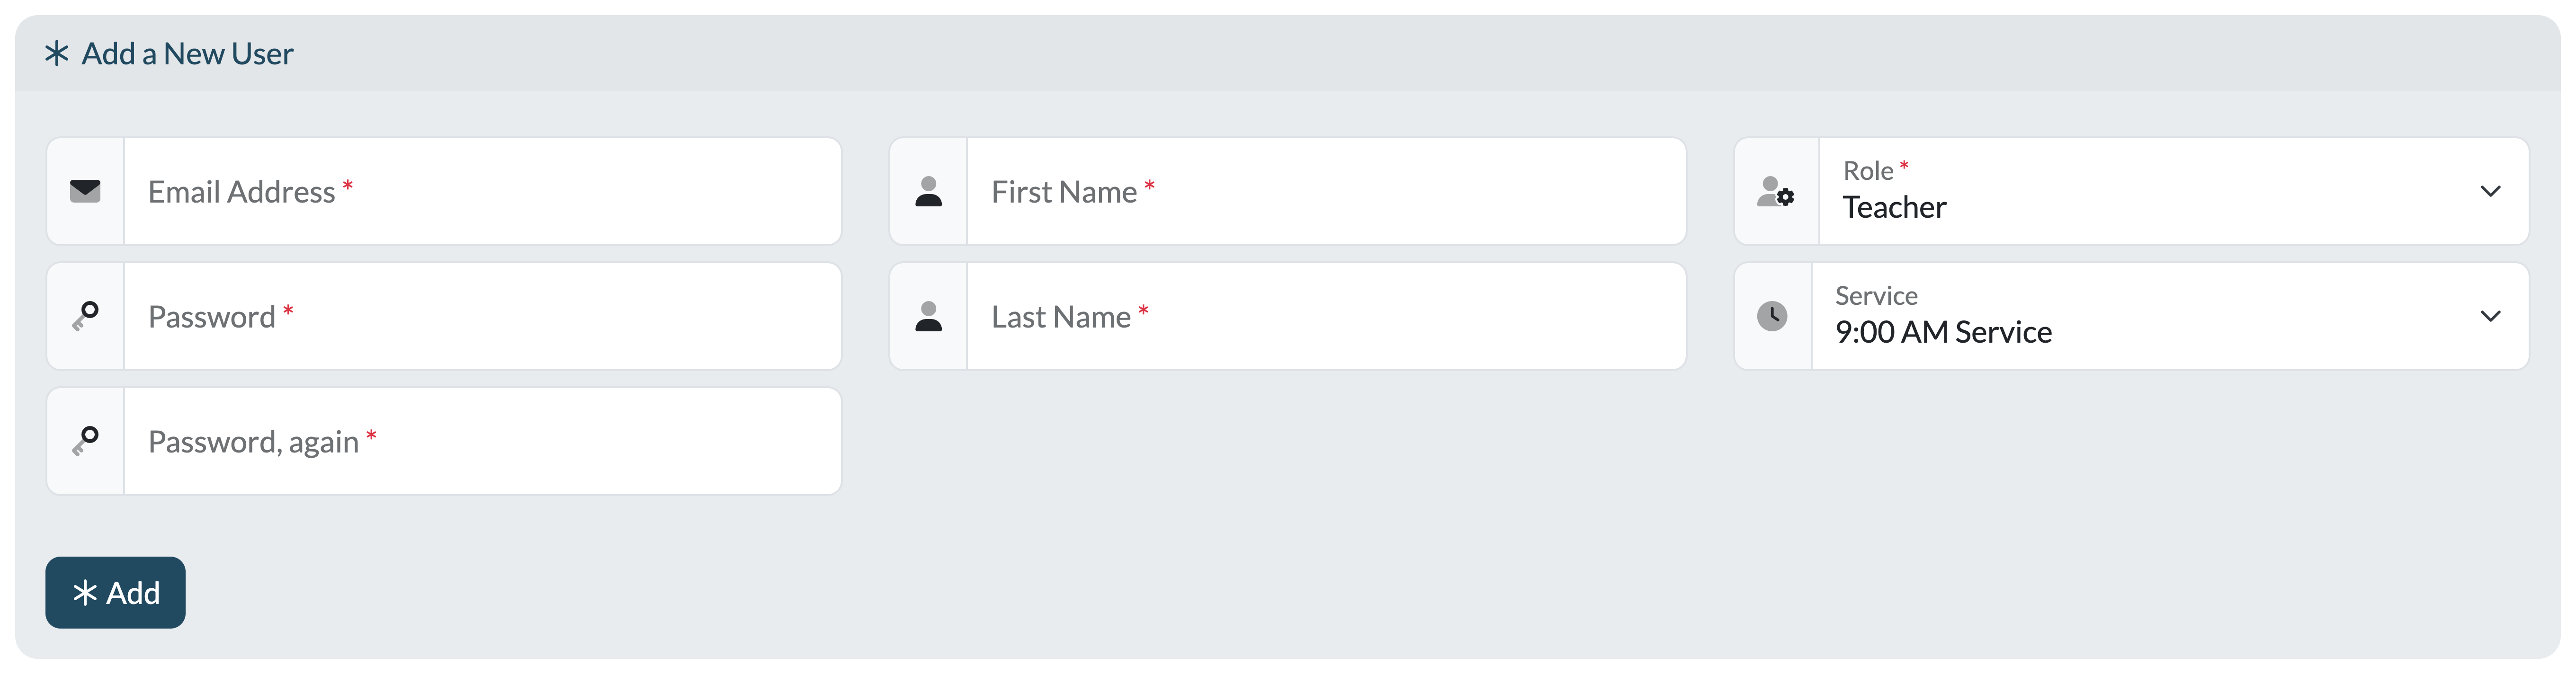
- At the top of Your Team, click Add a New User to expand the form.
- Enter their email address (this becomes their login), first name, and last name.
- Set an initial password — at least 8 characters with at least one number.
- Choose their role (Teacher, Ministry Administrator, or Parent).
- Choose their service — this controls which service's lesson schedule they see on their dashboard.
- Click Add.
The new user automatically receives a welcome email with a link to set their own password, so there's no need to share the one you typed. They sign in at teachusthebible.com/login.php.
Editing a User
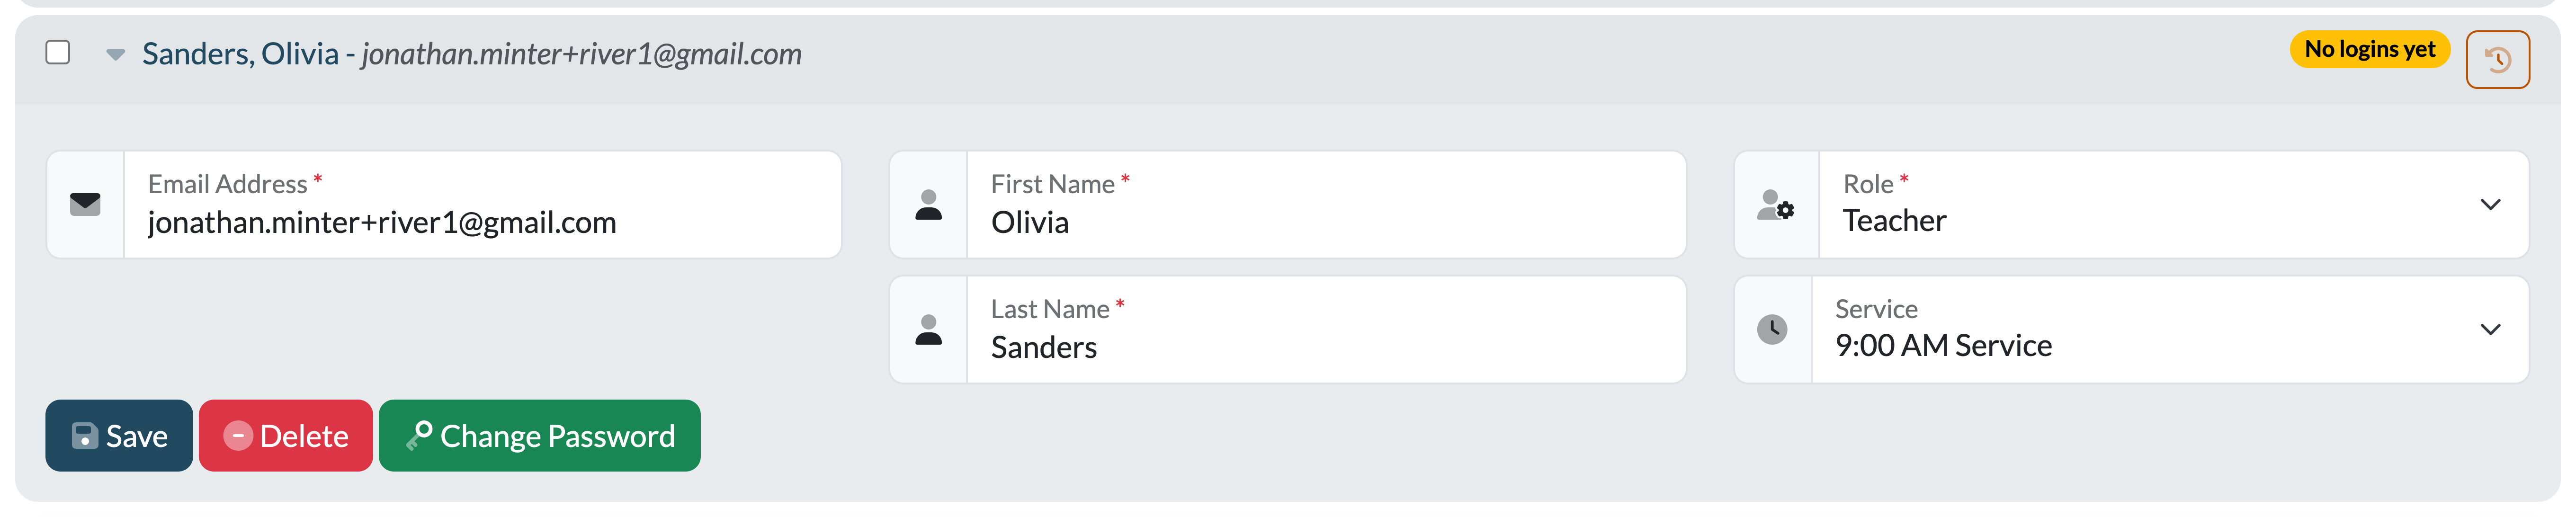
Click a user's name in the list and their card expands right there. You can update their email address, name, role, or service, then click Save.
Two ways to help someone who can't get in:
- Send invite email — check the box next to their name and choose Send invite email from the With Selected menu. They get a link to set a new password themselves.
- Change Password — the button inside their expanded card lets you set a new password for them directly.
The button on each user's row shows the email history for that person — every teacher email and announcement the platform has sent them, with dates and subjects. Useful when someone says "I never got the lesson email."
Service Assignments
If your ministry runs multiple services (e.g. 9am and 11am), assign each teacher to their default service. They'll see that service's lesson schedule on their dashboard, and teachers can always temporarily view another service's schedule themselves. To move a whole group at once, use Move to service in the With Selected menu.
Reading the Badges
The user list flags anyone who needs attention:
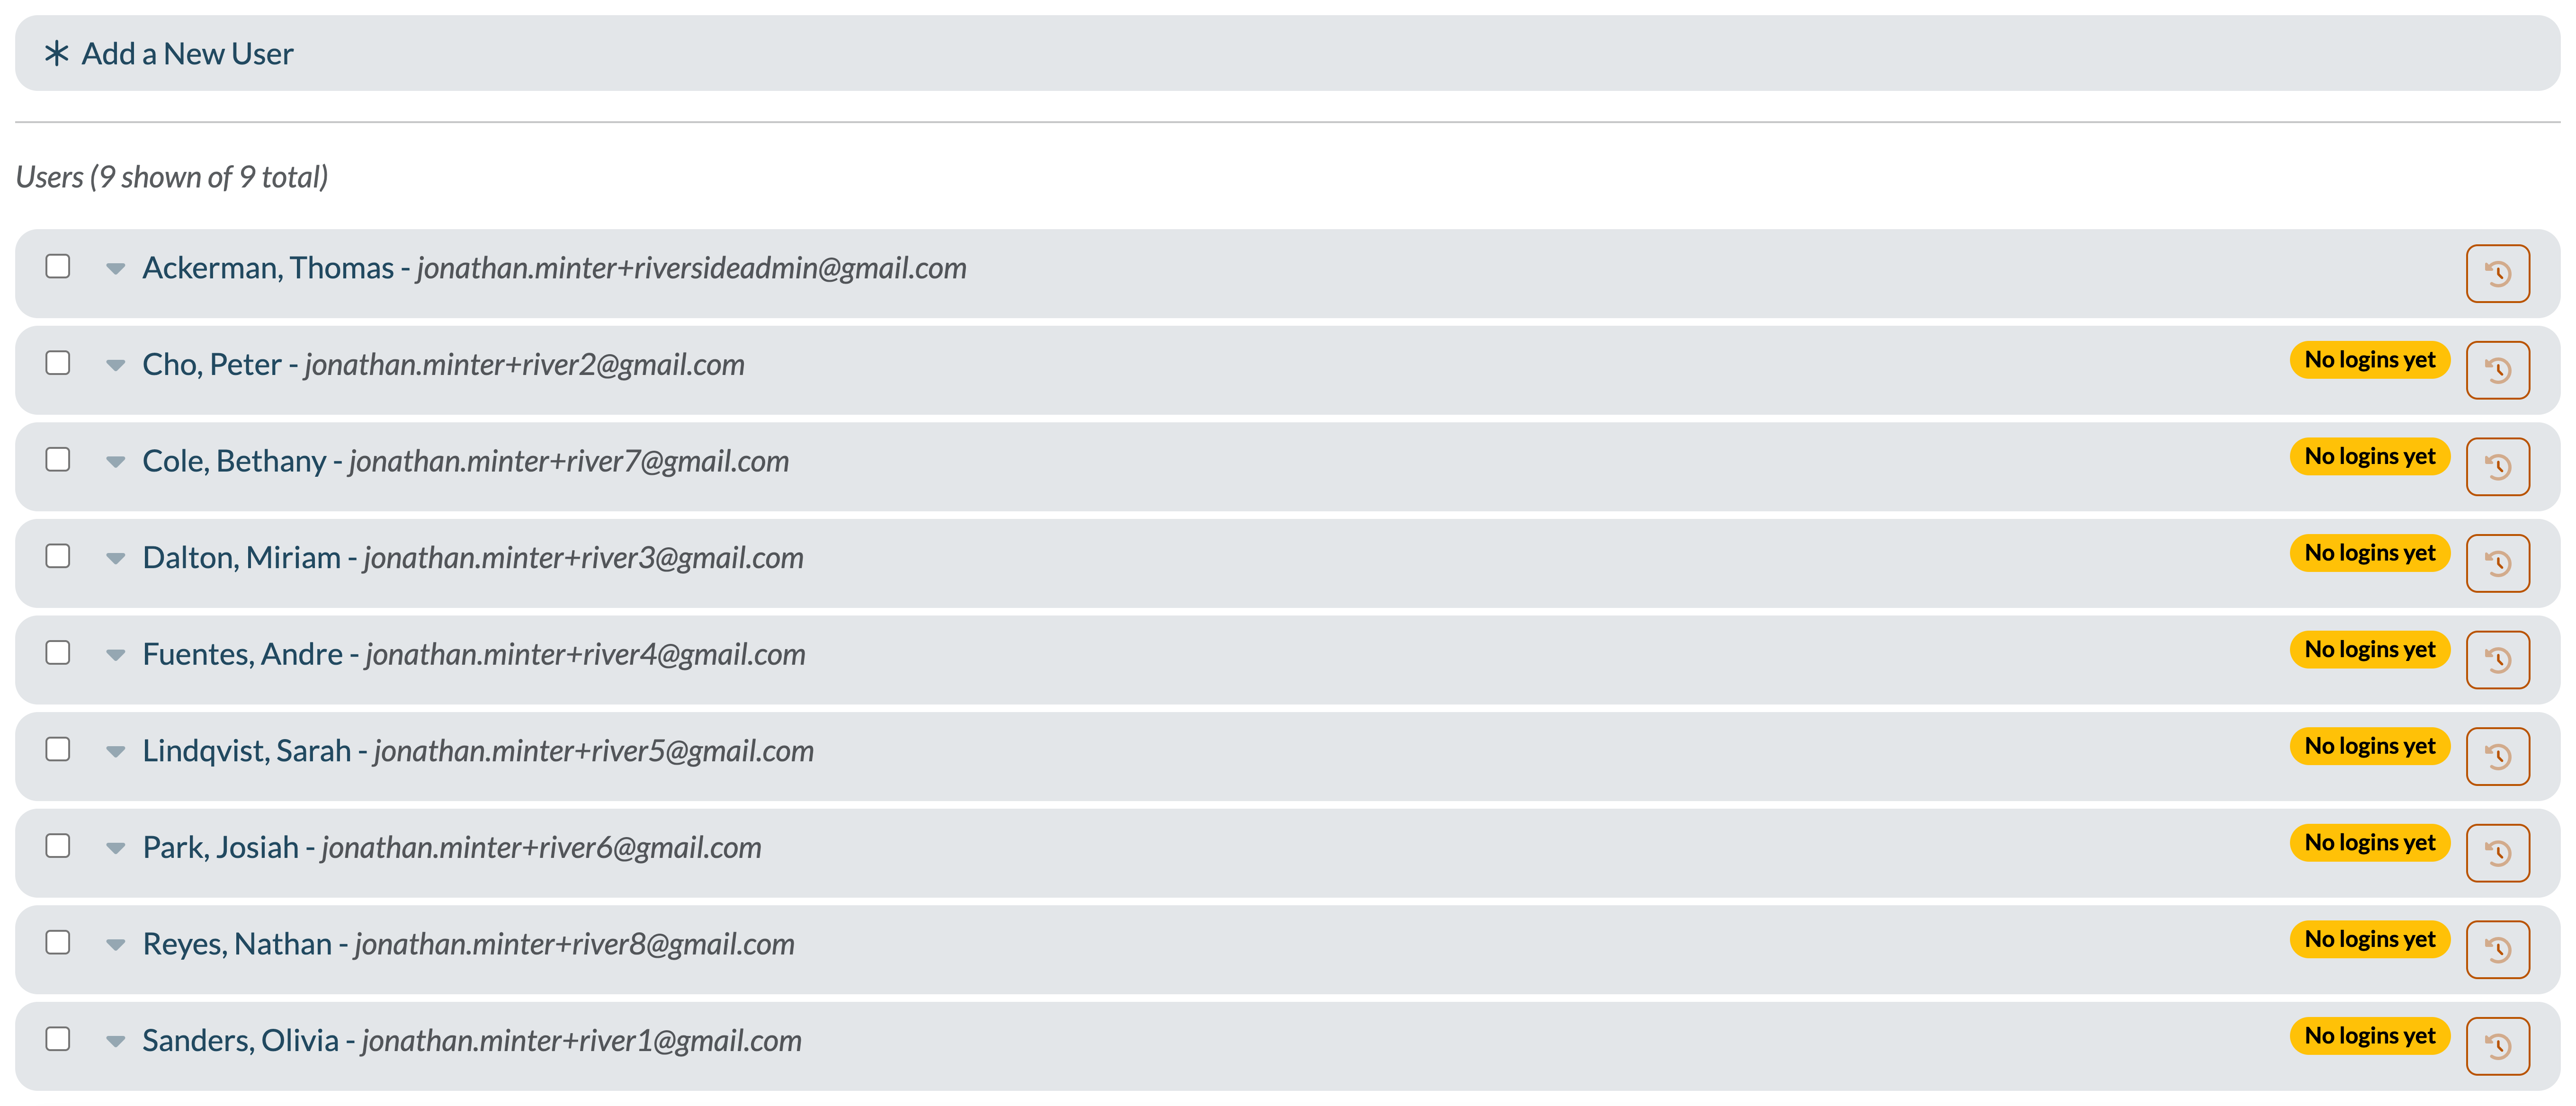
- No logins yet — they've never signed in. Select them and use Send invite email to nudge them.
- Email Bounced — email to this address has hard-bounced, so they aren't receiving anything. Double-check the address and correct it.
- User Locked Out — too many failed sign-in attempts. Expand their card and click Unlock User.
Removing a User
Expand the user's card and click Delete (you'll get a confirmation step), or remove several at once with the Delete bulk action. The account is deactivated immediately — they can no longer log in.
To keep you from locking yourself out, the platform won't let you change the role of your ministry's last Ministry Administrator.
Finding People & Bulk Actions
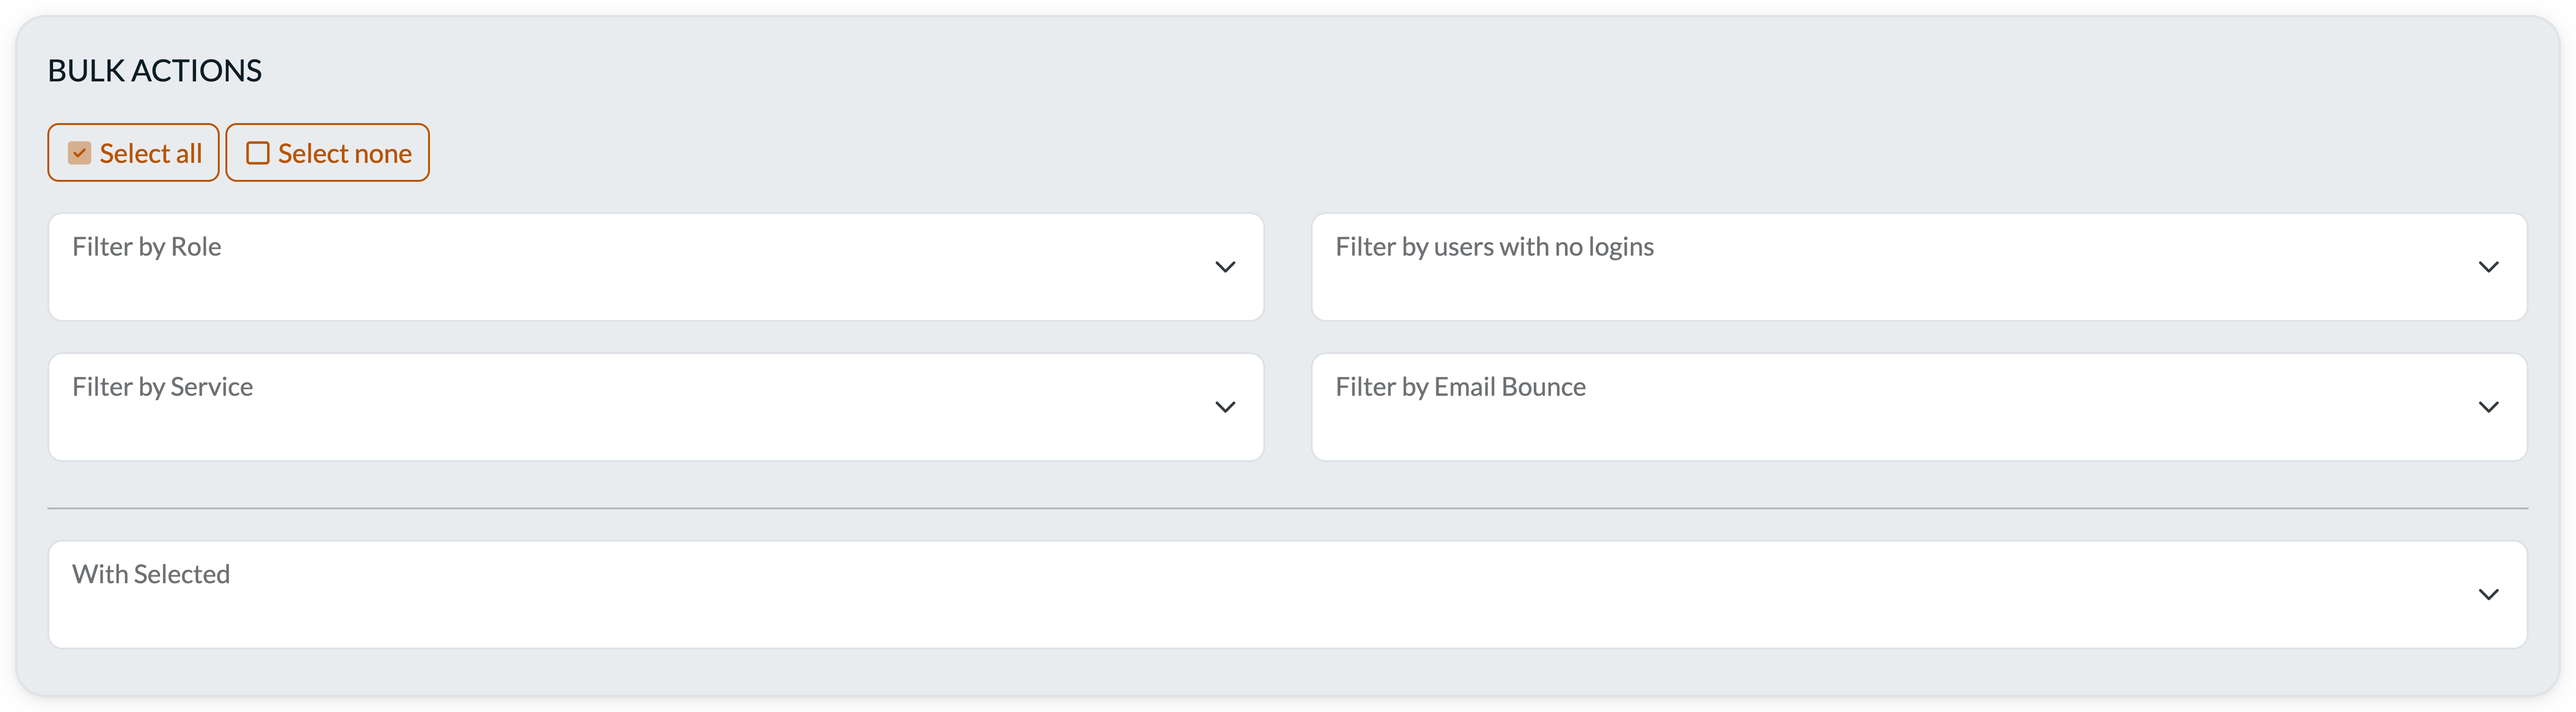
Find Users, above the list, narrows it to the people you're after. Bulk Actions, below the list, acts on the ones you tick. Filters apply to your whole ministry, not just the page you're looking at, so the count under the filters always tells you how many people match.
Filters
- Role — show only Teachers, Ministry Administrators, or Parents.
- Login history — show only users who have never logged in (or only those who have). Handy for finding people who haven't activated their account yet.
- Service — show users assigned to a specific service, or pick — No service assigned — to find everyone who hasn't got one. That includes people who were never assigned a service and people whose service you've since deleted. Either way they land on a broken page the first time they log in, so it's worth clearing the list: filter to them, Select all, then Move to service. Anyone in this state is also flagged with a red No Service on their row, so you'll spot them without filtering. (Parents don't need a service, so they're never flagged and never appear here.)
- Planning Center team — show users who are (or aren't) on one of your synced Planning Center teams. Appears once you've set up auto-sync teams.
- Email delivery — show only users whose email address has bounced.
Selecting people
- Select all ticks everyone on the page you're looking at.
- If your filters match more people than fit on one page, you'll then be offered Select all <n> users matching these filters — that reaches across every page. Ticking or unticking anyone individually puts you back to just this page.
With Selected
- Move to service — reassign a group of users to a different service at once.
- Move to role — promote or demote multiple users at once.
- Send invite email — emails the selected users a link to sign in and set their password. Use this to prompt people who haven't activated their account yet. Capped at 100 people at a time, so narrow the filters and send in batches for a big ministry.
- Delete — deactivate multiple users at once.
Importing Users in Bulk
Adding a whole team one at a time gets old fast. The Import Users button at the top of Your Team gives you two faster paths:
- Import from Planning Center — browse your Planning Center teams and pick people to import directly (requires the Planning Center connection). This is a one-time import; if you'd like people added to a team in PCO to get accounts automatically, set up auto-sync teams in Ministry Settings.
- Paste a list — paste email addresses and names (one person per line), optionally add a personal note, and everyone gets created with a welcome email inviting them to set a password.
Unlocking a Locked Account
After too many failed login attempts, an account is automatically locked for security. Locked accounts show a User Locked Out badge in the list — expand the user's card and click Unlock User to let them back in.